
Choosing the best insulation for our van conversion has been a game-changer, offering us a snug abode on wheels across North America.
From scorching deserts to frigid mountain tops, the materials we selected preserved our van’s cozy interior, making every mile a joy for my partner and me.
This insulation guide is crafted from our hands-on experience, ensuring you can enjoy a similar comfort in your van life adventures. Every layer of insulation we installed was a step towards perfecting our home on the road.
It wasn’t just about keeping warm; it was about crafting a space that felt like ours, no matter where we parked. The right insulation means waking up to the gentle warmth of the morning sun, not the harsh chill of the dawn air.
Why Insulation is Crucial for Your Van Conversion
Insulating your van is not just about comfort; it’s about building a sustainable lifestyle on the road.
The best camper van insulation safeguards against the elements, ensuring that whether it’s the scorching heat or the piercing cold, you and your beloved can enjoy every moment together.
With proper insulation, our van became a cocoon of peace, allowing us to work, rest, and play in a climate-controlled haven.
A well-insulated van also means efficiency. It keeps the interior temperature stable, reducing the need for excessive heating or cooling.
This not only helps with energy consumption but also extends the life of your van’s systems.
It’s about making smart choices for a smooth journey, ensuring that the road stretches out before you, full of promise and unhampered by the discomforts of an unregulated climate.
Understanding Heat Transfer: Radiation, Conduction and Convection
Heat transfer in a van occurs through radiation, conduction, and convection. The sun’s radiant heat can turn your van into an oven in the summer, while conductive heat transfer through the metal body can make it an icebox in winter.
Addressing these with the right materials ensures your living space remains comfortable year-round. We followed many tutorials to get the knowledge we have on this, so we’re sharing what we know.
Exploring the Role of Conduction in Camper Vans
Conduction is the silent thief of warmth within a van’s metal walls and ceilings. Without insulation, the metal conducts temperature with ease, chilling the interior in winter and overheating it in summer.
Thinsulate insulation is a popular choice for combatting this, as it snugly fits into the nooks and crannies of your van’s framework, providing a cozy barrier against the cold.
Meanwhile, Havelock wool sheep’s wool offers a natural and effective solution, padding out the space with its insulating properties.
XPS rigid foam insulation is another ally in the fight against conduction. Its rigid structure and high R-value make it an ideal candidate for insulating the van’s metal surfaces.
The Impact of Radiation on Van Temperatures
Radiation from the sun can dramatically affect your van’s internal temperature. In summer, the heat is transferred directly through windows, causing the air inside to rise in temperature quickly.
To combat this, reflective materials like Low-E insulation are used to reflect the sun’s radiant heat away from the interior. This can help maintain a cooler living space during those long, sun-drenched days.
Thermal blinds are also a must-have, creating a barrier that reflects the sun’s energy away from the van in the summer and keeps the warmth inside during winter.
This dual action makes them an invaluable component in managing the radiation-induced temperature shifts that can otherwise make life on the road a challenge.
How Convection Influences Your Van’s Climate
Convection heat transfer plays a significant role in how comfortable the interior of your van feels.
As the air inside heats up, it rises, creating a cycle that can lead to inconsistent temperatures throughout your living space. To minimize this effect, proper insulation and strategic airflow design are crucial.
They ensure that the warmth generated from your cozy evenings doesn’t escape with the rising air, keeping you and your partner comfortable through the night.
Addressing convection heat transfer is especially important in areas like the kitchen, where cooking can cause rapid changes in temperature.
The Best Camper Van Insulation Materials Roundup
When converting your campervan, choosing the best insulation means considering living space, moisture control, and the bang for your buck.
Lizard Skin and other campervan insulation options offer high R-value and durability, essential for life on the move.
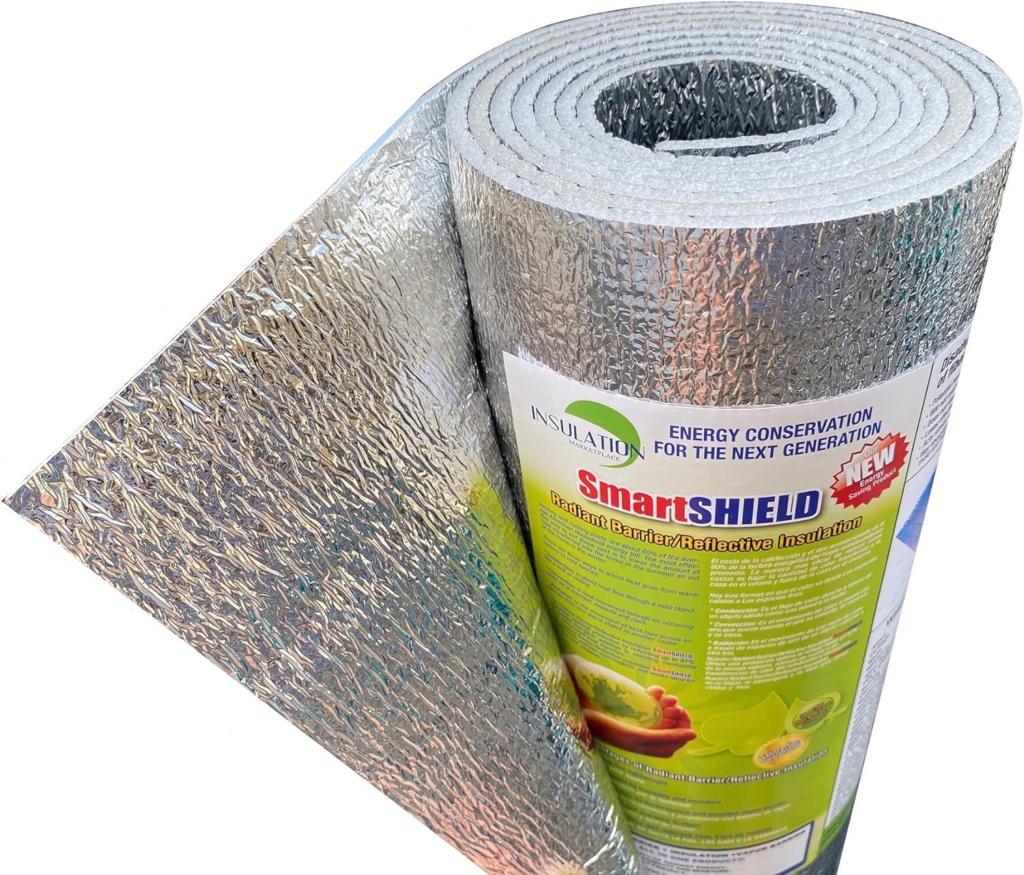
1. Reflectix – A Radiant Barrier with a Specific Purpose
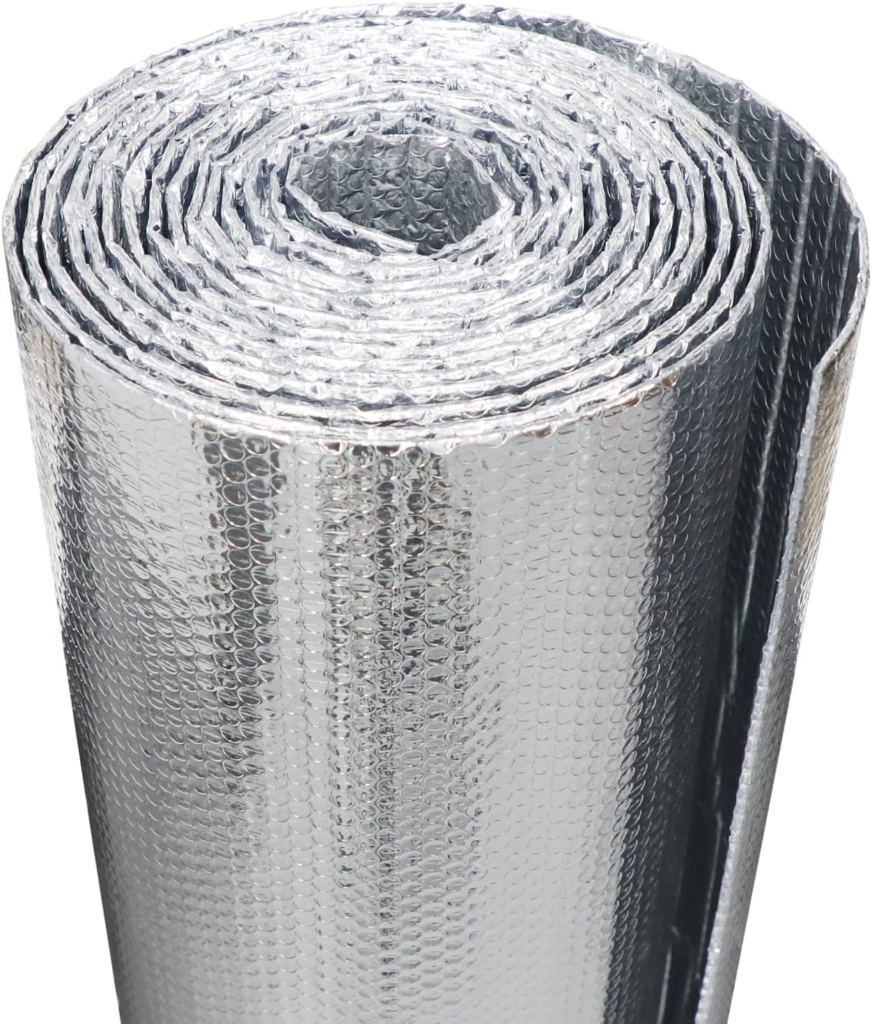
Reflectix, often found at box hardware stores, is essentially bubble wrap with a reflective surface, acting as a radiant barrier.
It’s a common sight in DIY van builds, recommended for window coverings and areas with large air cavities. While Reflectix is great for reflecting heat, it’s not a substitute for more robust insulation options that provide higher R-values for wall cavities.
However, avoid using Reflectix as the sole insulation method behind walls or in tight spaces where its reflective properties can’t function properly.
It’s not designed to replace bulk insulation, and in these scenarios, your money is better spent on materials with a higher r-value and insulating power.
Benefits of Reflectix
- Great window insulation
- Easy to install
- Cost-effective
- Widely available at box hardware stores
Best Uses of Reflectix
Consider using Reflectix in your DIY van builds when you want to reflect heat from windows or create a radiant heat barrier in large open areas. It’s particularly useful in hot climates where reflecting solar radiation is a priority.
2. Havelock Wool – Leading the Charge in Natural Insulation
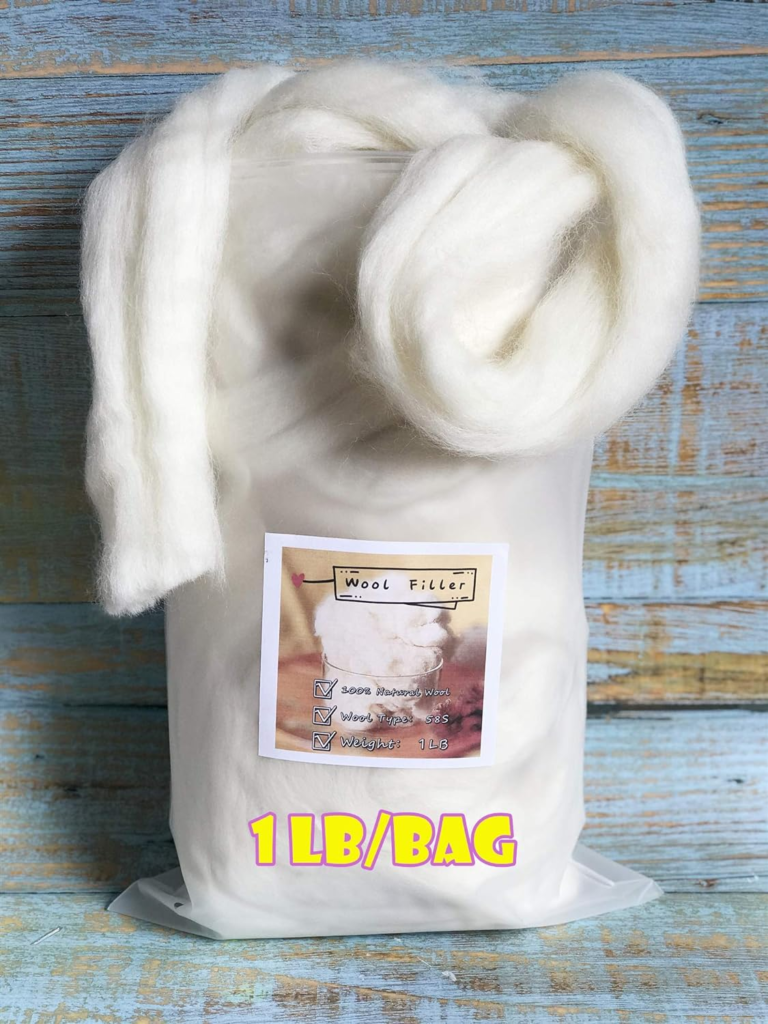
Havelock sheep’s wool is a renewable insulation champion, providing moisture control within your van’s metal walls.
It’s an eco-friendly option that balances your interior climate naturally, making it a top pick for those conscious of their environmental footprint.
Benefits of Havelock Wool
- Renewable resource
- A powerhouse of moisture control and thermal regulation
- Excellent humidity control offers a mold-free environment
- Its breathability fosters a well-vented interior and high air quality
Best Uses of Havelock Wool
The best uses for Havelock Wool include areas where moisture accumulation is a concern, such as around sleeping quarters and in the kitchen.
Its natural properties help to regulate the microclimate within the van, keeping you and your partner comfortable, regardless of the weather outside.
3. 3M Thinsulate – The Preferred Choice for Walls and Ceiling
3M Thinsulate, with an R-value of 5, is ideal for walls and ceilings, particularly in sub-freezing temperatures. Its ability to fit into nooks and crannies makes it a versatile choice for van conversions seeking comprehensive coverage.
Benefits of 3M Thinsulate
- Revered for its ease of installation and superior fit
- Conforms to the irregular shapes of your van
- Effective for insulating the challenging nooks and crannies t
- Exceptional thermal resistance – great for cold nights on the road
Best Uses of 3M Thinsulate
For the best results, cover the Thinsulate with a finished wall panel, creating a polished look and an additional barrier against the elements.
4. Closed-Cell Spray Foam – Top Pick for Maximum R-Value
Closed-cell spray foam is a powerhouse in the insulation world, boasting the highest r-value per inch compared to other insulation options. It’s the go-to choice when you’re aiming for maximum efficiency in temperature control.
While it comes at a higher cost, especially with professional installation, the benefits can outweigh the investment, as it acts as both insulation and a vapor barrier, reducing the risk of moisture-related issues. Its excellent sound-deadening properties also contribute to a quieter van interior.
Plus, the rigidity it adds to your van’s structure is a bonus. For those ready to invest, closed-cell spray foam can maximize insulation performance in your van conversion.
5. Lizard Skin Ceramic Insulation – Innovative Approach Against Heat Transfer
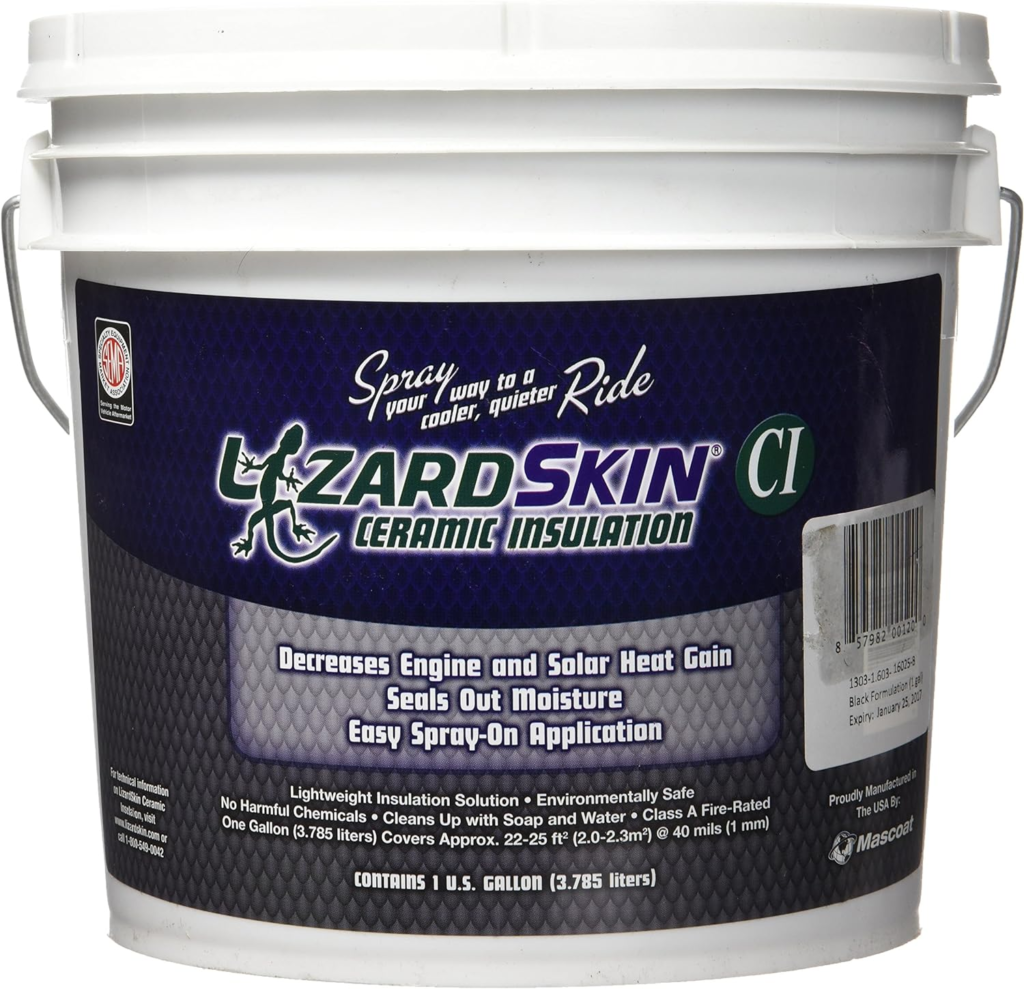
Lizard Skin is an insulating paint that addresses both heat transfer mechanisms and electromagnetic waves, offering an innovative alternative to traditional insulation. This thin layer of ceramic-based formula can be applied to the interior surfaces of your van, creating a barrier against heat transfer.
While some may be skeptical about its effectiveness compared to bulkier insulation options, Lizard Skin provides an additional layer of protection that can be especially useful in particular climate conditions.
Remember that whilst Lizard Skin can be an effective barrier, it’s not a replacement for more traditional insulation in extreme temperatures.
Consider your climate and usage needs when deciding whether this innovative insulating paint suits your van conversion project.
6. XPS Foam Board – Optimal Solution for a Sturdy Subfloor
For those seeking a sturdy subfloor with impressive r-value, polystyrene insulation, specifically XPS foam board, is the ideal choice. It’s tough, resists moisture, and bridges air gaps effectively.
Compared to other materials, the XPS foam board is cost-effective, striking a balance between performance and price, making it ideal for floor insulation in your van conversion project.
7. Low-E Insulation – Effective Radiant Heat Barrier
Low-E insulation is a thin, reflective material that acts as an effective radiant heat barrier. It’s a beneficial addition to van conversions, particularly when applied over furring strips to create an air space that enhances its heat-reflecting capabilities.
This product can be found at most box hardware stores and is a cost-effective method for reducing heat transfer through radiation.
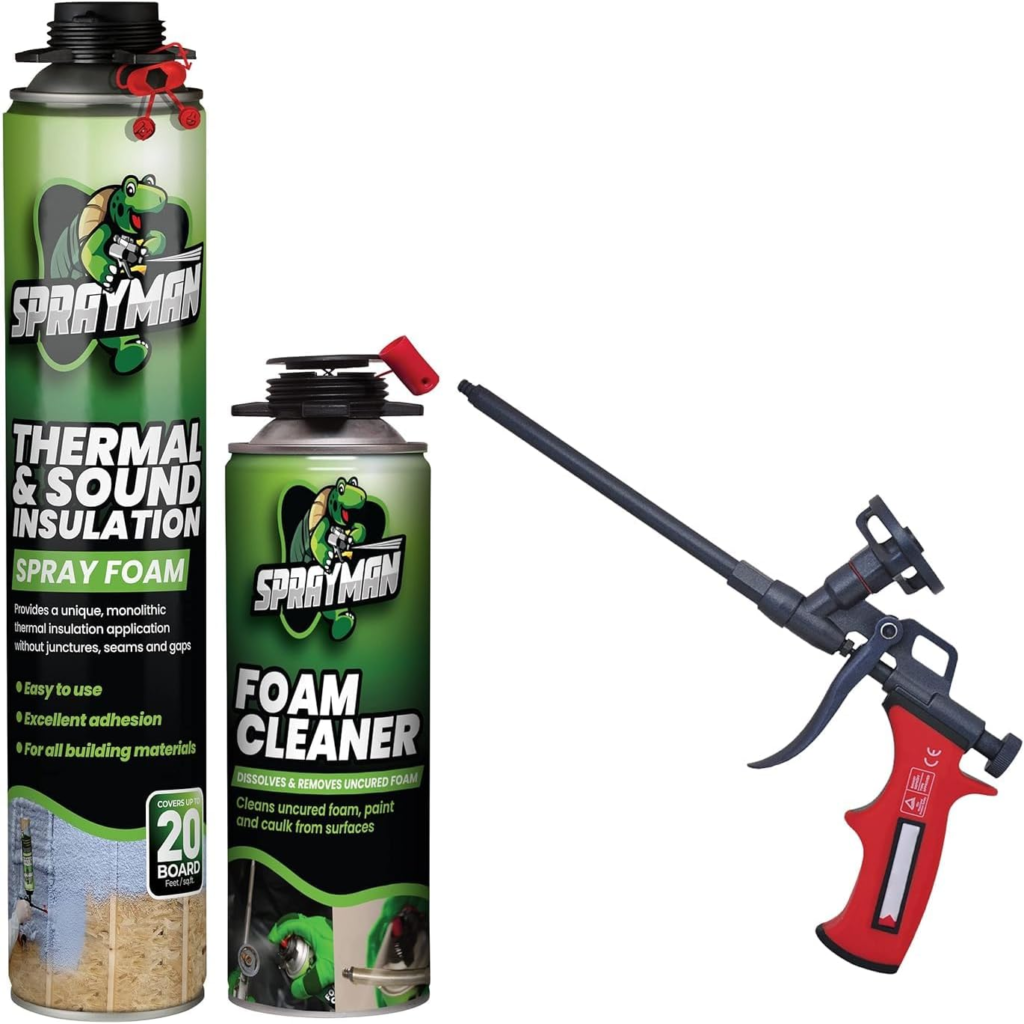
8. Spray Foam – The Contender for Ultimate Air Sealing
Spray foam insulation is a robust contender for campervan insulation, offering excellent thermal resistance and air-sealing properties. It’s a wise choice for those looking to create an airtight living space.
Key Insulation Concepts Demystified
When you’re transforming a van into a cozy home on wheels, understanding the basics of insulation is key.
Let’s demystify some important concepts so you can make informed decisions and keep your rolling abode comfortable in any weather.
Understanding the R-value in Insulation
The R-value measures the insulating power of a material, indicating its ability to resist heat flow. The higher the R-value, the better the material is at keeping heat in during winter and out during summer.
When choosing insulation for your van, aim for a balance between high R-value and the available space within your walls, floors, and ceiling.
Remember that the R-value is cumulative, so layering different types of insulation can increase the overall effectiveness.
Always consider the specific needs of your van conversion, including weight, space, and climate when selecting materials with the right R-value for your build.
The Importance of Thermal Bridging and How to Combat It
Thermal bridging occurs when heat bypasses insulation through more conductive materials, like the metal ribs of your van. To combat this, create a continuous insulation layer.
Consider the design of your van and identify potential thermal bridges, such as window frames and metal fixtures.
Use insulating materials that can mold to these shapes, ensuring full coverage and minimizing heat loss. By addressing thermal bridging, you’ll keep the interior temperature stable and reduce energy consumption.
Vapor Barriers and Moisture Control: Do You Need Them?
Vapor barriers are essential in preventing moisture from getting trapped between your insulation and the van body, which can lead to mold and rust.
These barriers help control the flow of moist, warm air, preventing it from condensing on cold surfaces within the van’s structure.
Install a vapor barrier on the warm side of your insulation to protect your van from potential moisture damage. Be mindful of the climate you’ll be traveling in. Cold air outside can meet warm air inside, creating condensation.
Choose insulation materials that can breathe and don’t retain moisture, ensuring any that does form can escape. Properly managing vapor and moisture in your van conversion is crucial for long-term durability and comfort.
Insulation in Diverse Climates: Tailoring Your Approach
Your van’s insulation needs can vary greatly depending on the climate. In colder regions, you’ll want to focus on materials with high R-values to keep heat in during winter van life, while in warmer areas, reflective barriers that bounce back the sun’s rays may be more important.
Consider the typical weather patterns and temperatures you’ll encounter and select insulation that suits these conditions. Additionally, think about the versatility of your insulation.
For those who travel across a range of climates, a combination of high R-value materials and radiant barriers might be the best solution. This way, your van stays comfortable whether you’re braving snowy mountains or cruising through desert heat.
Practical Installation Tips and Tricks
Embarking on your DIY van conversion adventure requires practical know-how for a smooth insulation process. It’s not just about choosing the best insulation; it’s about smart installation to maximize living space and comfort.
Properly insulating your van is like wrapping your mobile home in a cozy blanket, keeping you warm on winter nights and cool during the summer days. So, let’s dive into some indispensable tips and tricks to ensure your van conversion works.
Step-by-Step Insulation Process for DIYers
Firstly, start by thoroughly cleaning your van’s interior to ensure a dust-free surface for the insulation to adhere to.
Measure the walls and ceilings, cut your insulation material to size – whether Havelock Wool or Thinsulate insulation – and firmly place it within the frame ribs.
For areas that require spray foam, like around the wheel wells, be sure to apply it evenly and allow it to expand and cure properly. Remember, patience is key when working with insulation materials to avoid gaps and ensure a snug fit.
Next, layer on the vapor barrier if you’re using one, making sure to seal all edges with durable tape. This will help combat condensation and keep moist air at bay.
As you progress, don’t forget to insulate the doors by removing panels and filling cavities with your chosen material. Finally, replace the panels, and you’re ready to move on to the finer details like the flooring and windows.
Addressing Common Weak Points: Windows, Doors, and the Front Cab Area
Weak points in a van’s insulation are often found around windows, doors, and the front cab area. To keep your living space snug, use insulation materials that offer high R-value per inch, like closed-cell spray foam or XPS rigid foam insulation for these crucial spots.
For windows, consider custom-cut panels that can be inserted for extra insulation on chilly nights. The door panels can be tricky, but they’re no match for determined van lifers.
Remove the panels and pack them with layers of Thinsulate insulation, ensuring a tight fit to avoid sagging or shifting while you travel.
The front cab area poses its challenges. To maintain a uniform temperature throughout your van, use insulated window covers and consider extending the lizard skin or other insulation up to the firewall.
This creates a seamless barrier against the elements, keeping you comfortable no matter where you roam.
Sound Deadening and Its Role in Your Van Conversion
While insulation focuses on temperature control, sound deadening is all about creating a serene environment free from road noise. Van lifers know the difference a quiet cabin can make, especially after a long day of exploring.
Use materials like Noico to dampen vibrations on metal panels, reducing both exterior sounds and the drumming effect while driving.
Carefully apply these materials to the wheel wells, doors, and under the flooring to enjoy a peaceful retreat on wheels.
Sound deadening is a step that shouldn’t be overlooked, as it complements your insulation efforts by contributing to the overall tranquility of your living space.
Plus, a quieter van means less distraction while driving, allowing you to focus on the journey ahead in your travel van.
The Necessity of Proper Ventilation Post-Insulation
Now that you’ve secured your van against the elements, it’s essential to consider ventilation. Proper air flow is vital for full-time vanlife, allowing heat to escape and preventing the build-up of moist air.
Installing a high-quality vent fan is a game-changer, promoting circulation and helping to control the temperature and humidity inside your van.
When choosing a fan, look for models with multiple speed settings, a built-in rain cover, and a thermostat for automated climate control. Utilize your fan alongside strategically placed windows to create a cross breeze, ensuring fresh air is always cycling through.
This will not only enhance comfort but also protect your van’s interior from the risks of mold and mildew, safeguarding your investment and your health.
Special Considerations in Van Insulation
When converting your van, there are a few special considerations to keep in mind. From the type of insulation to the areas you insulate, each decision impacts the effectiveness and comfort of your mobile abode.
We’ve already discussed walls and ceilings, but what about the floor? How does one prepare for winter van living or weigh the pros and cons of insulation kits? These considerations are crucial for creating a living space that’s as functional as it is cozy.
Should You Insulate the Van Floor?
Insulating the van floor is a step you shouldn’t skip. It’s a barrier against cold and dampness that can seep through the metal floor.
Opt for a sturdy insulation like XPS foam board, which can handle the weight of your build and provide a solid foundation.
Be cautious with materials like Reflectix directly on the floor; they’re not designed for this use and won’t offer the insulation you need.
Instead, use it as part of a multi-layer approach, paired with a more substantial material to truly keep the cold at bay.
After you’ve insulated the floor, adding a durable subfloor will protect the insulation and serve as a smooth base for your final flooring choice.
This extra layer not only enhances insulation but also contributes to the overall structural integrity of your living space.
Preparing for Winter Van Living: Essential Tips
As the seasons change, so do your insulation needs, especially when facing the challenges of winter nights on the road. To stay warm, ensure that your van’s insulation is up to snuff, focusing on materials with a high R-value.
You might also consider adding thermal curtains or extra blankets to your living space for an additional layer of warmth. Remember to check for drafts regularly and seal any gaps with appropriate insulation.
Keep your fuel sources for heating well-stocked and familiarize yourself with safe usage practices to avoid any risks.
Considering the Use of Insulation Kits: Pros and Cons
For van lifers looking for a more streamlined approach to insulation, kits can be a tempting option. They often come pre-cut and designed for specific van models, which can save you time and guesswork. However, they may not offer the same level of customization or coverage that a DIY approach would allow.
Additionally, while insulation kits can be cost-effective, they might not always provide the best insulation for your specific climate needs or living space design. Before deciding on an insulation kit, weigh the convenience against the potential limitations.
Consider whether the materials included align with your insulation goals, particularly in terms of R-value, moisture resistance, and overall durability. Remember, the best insulation setup is one that meets your unique needs on the road.
Reflections on Insulation Materials and Methods
As we reflect on the various materials and methods available for insulating a van, it becomes clear that each choice carries its own set of benefits and challenges.
Whether you opt for the natural breathability of Havelock Wool or the sleek efficiency of lizard skin, your priority should be the comfort and sustainability of your living space.
Insulation isn’t just about staying warm or cool – it’s about creating a sanctuary that moves with you, wherever your adventures lead.
Evaluating the Best Insulation for a Budget-Conscious Build
For those of us keeping an eye on expenses, evaluating the best insulation for a budget-conscious build is essential.
Thinsulate insulation is a popular choice for walls and ceilings due to its ease of installation and effective thermal properties.
Meanwhile, XPS rigid foam insulation offers a more affordable option for areas that require a sturdy, high R-value solution, such as the floor.
Always consider the long-term benefits of your insulation choices, as the right materials can save you on heating and cooling costs down the line.
When budgeting for your van conversion, prioritize materials that offer the best balance between cost, effectiveness, and longevity.
This way, you can hit the road with confidence, knowing that your investment in insulation will pay off in the comfort and efficiency of your van life experience.
The Debate Over Eco-Friendly vs Synthetic Insulation
The van life community is increasingly conscious of the environmental impact of their choices, sparking a debate over eco-friendly versus synthetic insulation.
Eco-friendly options like Havelock Wool are renewable and boast air-purifying properties, making them an attractive choice for the health-conscious van lifer.
On the other hand, synthetic materials like Thinsulate are known for their high R-value and moisture resistance but may lack the sustainable credentials of natural alternatives.
Ultimately, the choice between eco-friendly and synthetic insulation depends on your values, the specific needs of your living space, and the climates you plan to explore. Whichever route you choose, ensure that your insulation is installed with care and precision to maximize its benefits.
The Long-Term Benefits of Proper Insulation for Van Lifers
For van lifers, the decision to insulate properly yields long-term benefits. Not only does it enhance the comfort of your living space, but it also contributes to energy efficiency, reducing the need for excessive heating or cooling.
Good insulation acts as a barrier against the weather, ensuring that you can enjoy life on the road year-round, regardless of the temperature outside.
It’s an investment in your mobile home that pays dividends in comfort, peace, and the freedom to explore without being tied down by the elements.
As you embrace the road ahead, take pride in the insulated camper van you’ve created. It’s your ticket to adventure, a reflection of your hard work, and a cozy haven that travels with you. With the right insulation, you’re not just surviving the van life – you’re thriving.
Ensuring a Comfortable and Energy-Efficient Van Life Experience
Insulation is the unsung hero that guarantees a comfortable temperature inside your camper van. It’s crucial for those who seek the freedom of the open road without compromising the cozy sanctuary of home.
A well-insulated van ensures that you’ll wake up toasty on frosty mornings and cool during the heat of a summer day. It’s about optimizing your energy usage so that you can spend less on heating and cooling and more on experiences.
From the walls of your van to the nooks and crannies that often go unnoticed, proper insulation wraps your mobile abode in a thermal blanket.
Remember, it’s not just about the materials you choose but also about the effectiveness of their application. Ensure every inch is covered, and you’ll enjoy the peace of mind that comes with a well-insulated, energy-efficient home on wheels.
Wrapping Up Your Van Insulation Journey
As we wrap up the journey of insulating your van, it’s important to revisit the best practices that will keep you cozy and content on the road. Remember that the right insulation for your van is a critical part of ensuring a comfortable living space.
It’s not just about the immediate benefits but also about the long-term comfort and energy efficiency that proper insulation provides.
When insulating your van, always aim for a comprehensive approach that covers all areas, including walls and ceilings, floors, and weak points like windows and doors.
Choose materials that are not only high in R-value but also resistant to moisture, mold, and mildew. Take the time to install everything correctly, sealing gaps and ensuring that no area is left exposed to the elements. This attention to detail will pay off in the comfort and durability of your van conversion.
Keep in mind that insulation is just one part of the equation. Sound deadening, proper ventilation, and moisture control are equally important to maintain a pleasant living environment.
By following these best practices, you’ll be well on your way to a successful van conversion that serves you well on all your travels.